We all know that AutoCAD is a powerful tool for drafting and designing and it is widely used in various fields such as engineering, construction, architecture etc. If you want to learn more about AutoCAD you can check the articles here. In today’s article, we are going to talk about a very important tool that is present in AutoCAD and that is dimension. Dimension is an essential tool found in AutoCAD which is used for communicating the size, scale, and relationships between different elements in a drawing so in this article, we will explore this AutoCAD tool and we will learn how to use this accurately.
Now we will talk about what dimensions in AutoCAD mean. Dimensions refer to the annotations that display the measurements of distances or objects between two distinct figures in a drawing so these dimensions give us linear distances, angles, diameter, radii, and more.
Now we will learn how to set the dimensions in AutoCAD and for that you need to follow these following easy steps:
First we have to choose the dimension tool that is present in the Home tab.

Another way to do this is to type “DIM” keyword in the command bar.

The primary dimension tools include:
Linear Dimension: Measures the distance between two points along a straight line.
Aligned Dimension: Measures the distance between two points along an angled line.
Angular Dimension: Measures the angle between two lines or three points.
Radius Dimension: Measures the radius of a circle or arc.
Diameter Dimension: Useful to measure diameter of a circle.
And they can be found by clicking the drop down arrow in Home tab

How to measure distance:


See how Factovare helps factories digitize work
Watch the demo and contact us to try Factovare for your manufacturing operations.
Join our manufacturing community and grow with manufacturing professionals worldwide
Join our WhatsApp group for networking, or write manufacturing articles and earn through your knowledge.
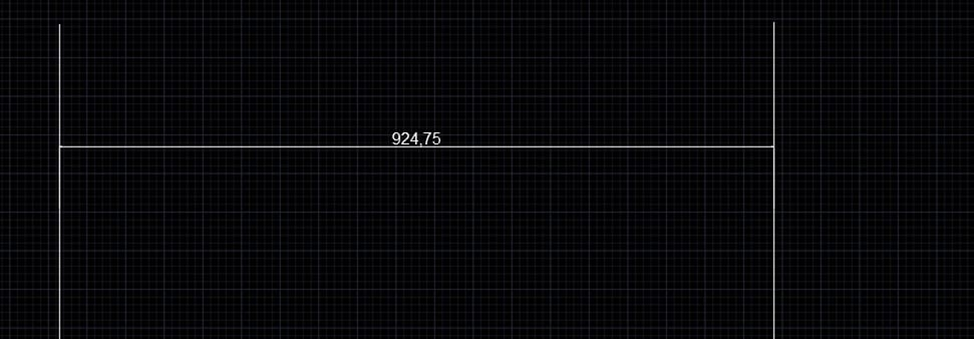
To measure the distance between two points, use the Linear command. Simply click on Linear/Dimension

Then click on the points you want to measure. For example, for a linear dimension, click on the start and end points of the line you wish to measure. AutoCAD will automatically place the dimension between the selected points.
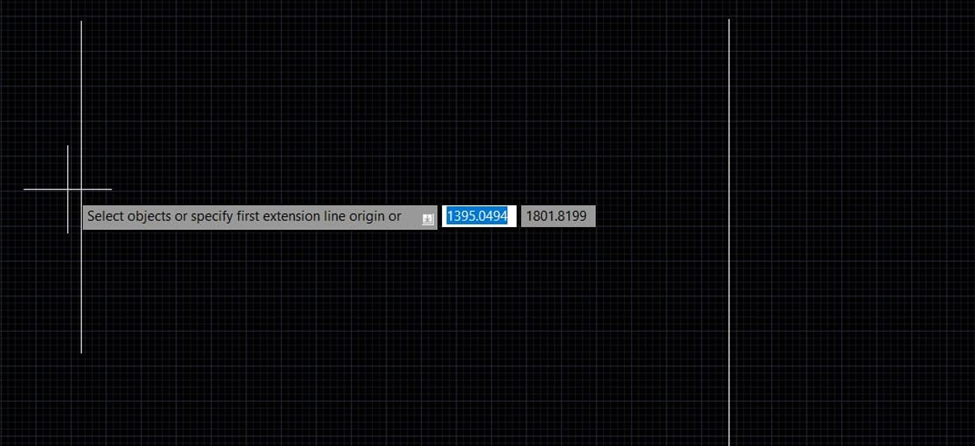

You can adjust the placement of the dimension line by dragging it to a desired position, or by using the grip points so as to fine-tune it.
Please note this linear dimensions are used to calculate area of an object in AutoCAD. But don’t worry, we have tool for calculating area also.
How to Measure Angle:
To measure an angle between two lines or three points, click on Angular. So, this tool allows you to select the lines or points that form the angle, and AutoCAD will display the angle in degrees. Select the two lines between which you want to measure the angle.

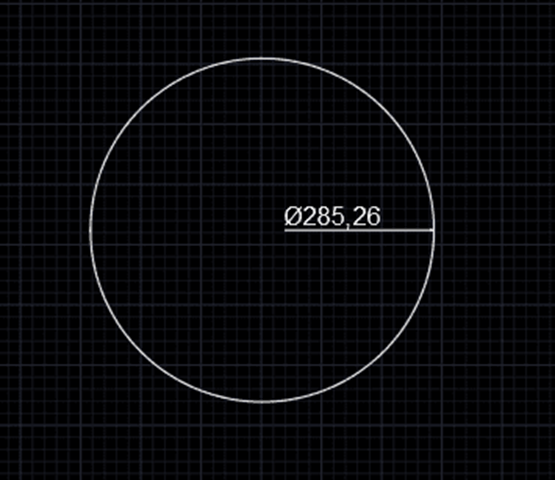
How to measure diameter:
From the drop down menu shown earlier, Click on Diameter option. Now click on the circle which you want to know the diameter. Now you can see the diameter of the selected circle.
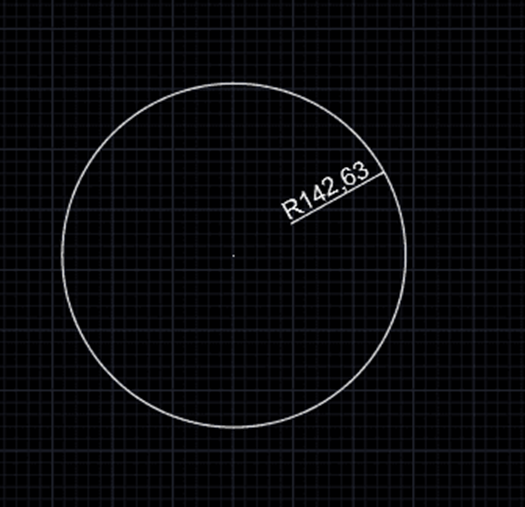
How to measure radius:
Select ‘Radius’ option from the dropdown as shown before and select the circle which you want to measure the radius, by clicking on it. And you will be able to see its radius.
Changing Dimension Style
If you want to change the style of dimensions e.g. in the below drawing, the dimension size is very less and it is not properly visible and if you want to increase the text size of the dimensions, then follow the following steps:

Before placing dimensions, it’s essential to choose or customize a dimension style. Dimension styles control the appearance of your dimensions, including text size, arrow style, and units, so you can create or modify dimension styles by typing DIMSTYLE in the command line.
Or click on Annotation

Then click on this icon


In the Dimension Style Manager, you can set preferences for various aspects like text placement, color, and line thickness.
Then click on Modify

Now click on text menu as shown in the below picture.

Then change the text height if the text size is small

Click on OK
Then click on Set Current

We can see the difference in dimension size as it now appears bigger.
Conclusion
AutoCAD dimensions are an essential part of creating precise and professional drawings. So by understanding how to set and measure dimensions effectively, you can enhance the clarity and accuracy of your designs. Whether you’re working on a simple plan or a complex engineering project, mastering dimensions in AutoCAD will significantly improve your drafting skills and ensure that your drawings are communicated accurately to others.
Now or Never
We’ve got your back on your manufacturing journey — Stay in touch
Follow us for step-by-step guidance, templates, and insights that save time and reduce mistakes.
Know Industrial Engineering Platform – Helping manufacturing industry professionals worldwide since 2019
Thank you for the information
Great
Great information
Thank you
Thanks for a detailed explanation 👍
You’re welcome!
Very useful tips!!!
I’m a user of autocad in my daily routine, this will me me a lot!
Thank you for sharing your experience!!!
Hope you found it helpful!
Great insightful article
Thank you